Joint Assembly System Ankle Joints
Using NEURO VARIO-SPRING as an Example
This online tutorial shows the joint assembly of the following system ankle joints:
- NEURO CLASSIC
- NEURO VARIO
- NEURO VARIO-CLASSIC
- NEURO VARIO-SPRING
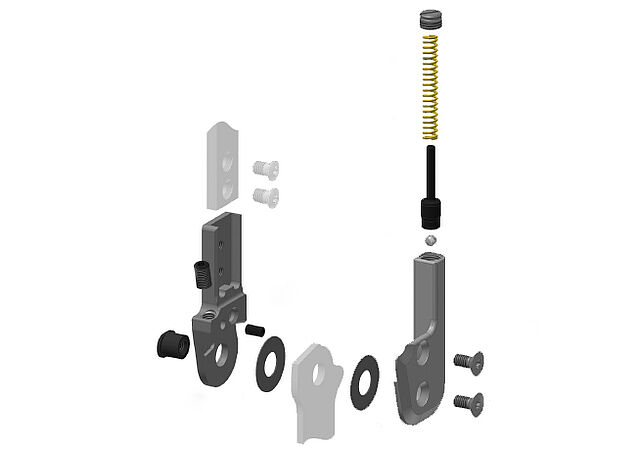
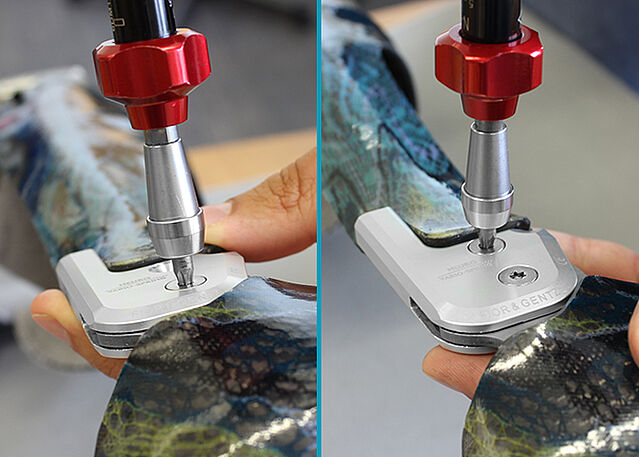
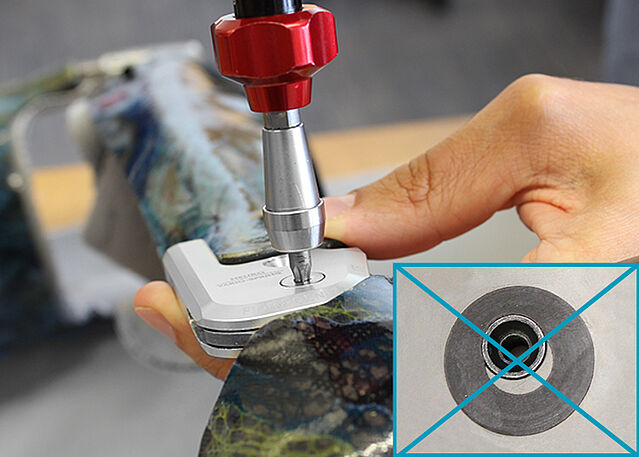
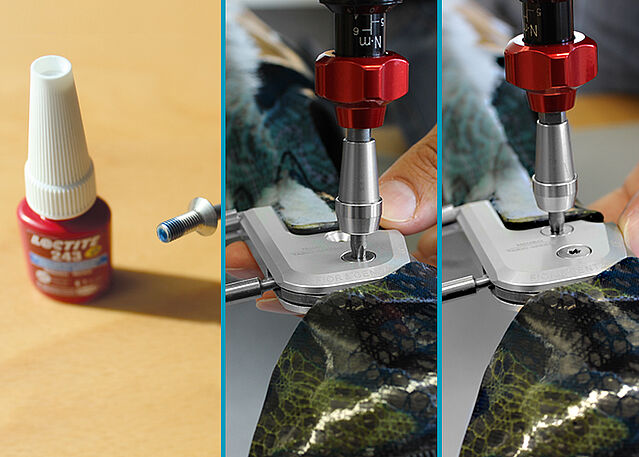
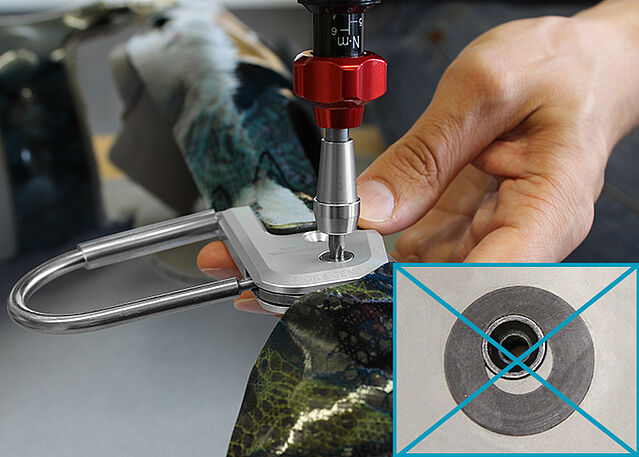
The NEURO VARIO-SPRING system ankle joint is a joint with dorsiflexion assist and provides a pressure spring as well. For the assembly of the 16 and 20mm system joints, you can use the assembly aid for cover plate. You will find more information in the instructions for use.
In addition, the NEURO VARIO-SPRING is, alongside with the NEURO SWING, NEURO VARIO-SWING and NEURO SWING 2, a system ankle joint, which can be connected to the automatic knee joint system NEURO MATIC. Then, a mechanical connection between system knee and system ankle joint controls the locking and unlocking of the system knee joint.
Here, in the online tutorial, you can find the instructions for the assembly of the NEURO MATIC system knee joint in combination with the NEURO VARIO-SPRING system ankle joint.
-
Joint Assembly System Ankle Joints
-
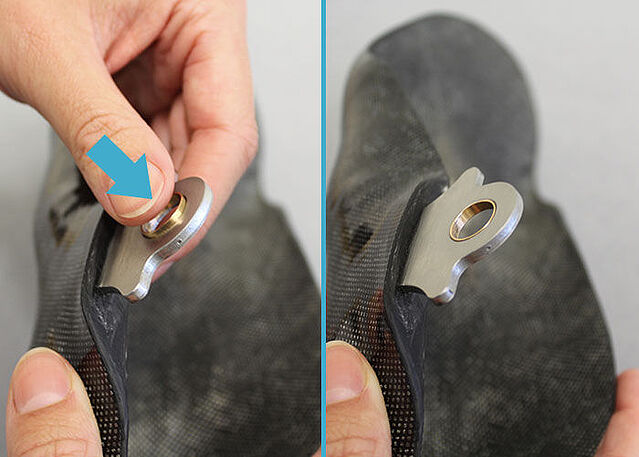
Step 1/15
Step 2/15
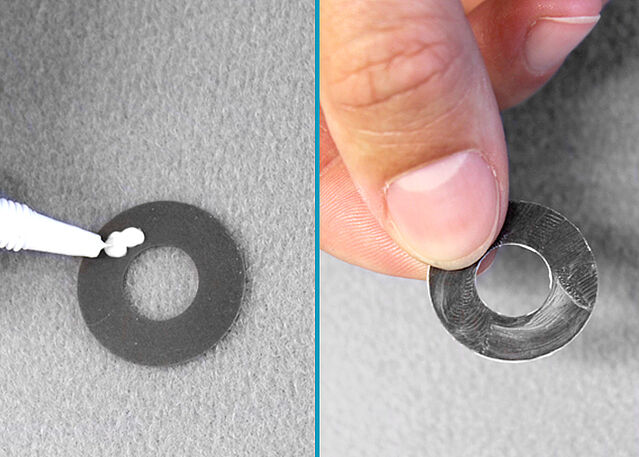
Step 3/15
Step 4/15
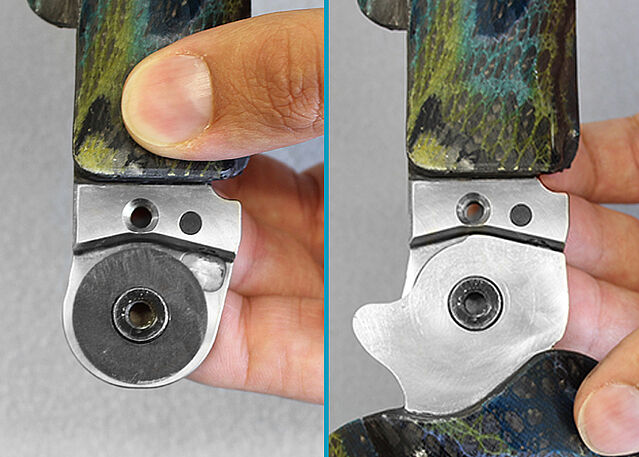
Step 5/15
Step 6/15
Step 7/15
Step 8/15
Step 9/15
Step 10/15
Step 11/15
Step 12/15
Step 13/15
Step 14/15
Step 15/15


Last Update: 29 August 2022