Replacing Feather Keys
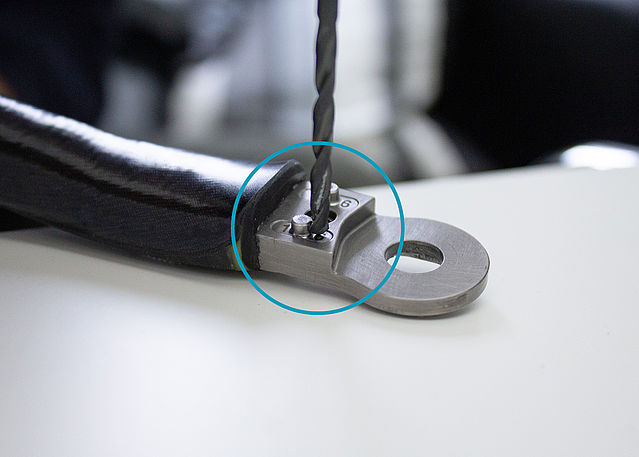
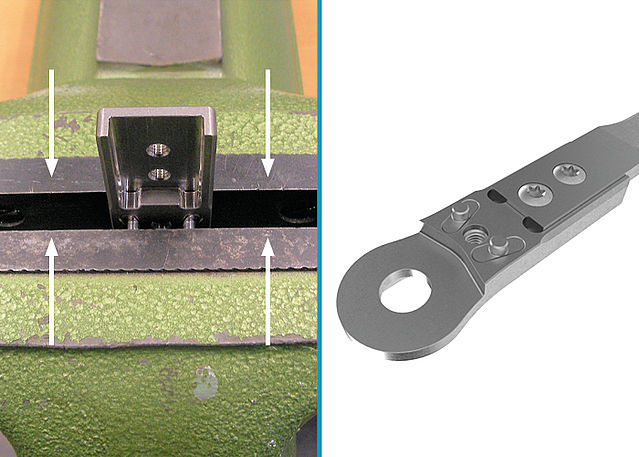
Some of our system ankle joints have so-called feather keys with pin which are located inside the joint's upper part. In the following we describe how to proceed if you have to replace the feather keys with pin due to maintenance.
You will find further information on the period of use of our system components in the maintenance plans.
-
Replacing Feather Keys
-
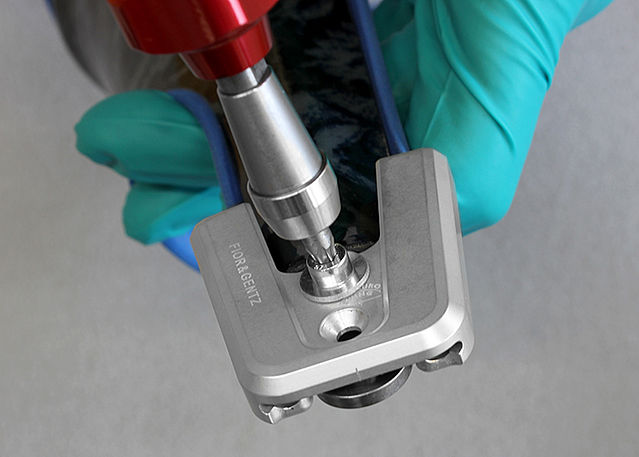
Step 1/7
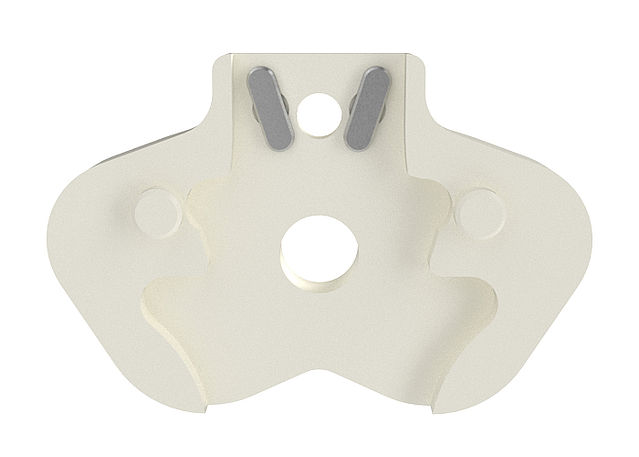
Step 2/7

Step 3/7
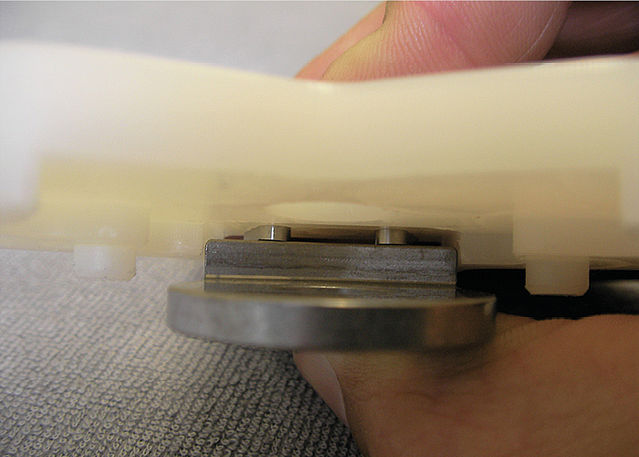
Step 4/7
Step 5/7
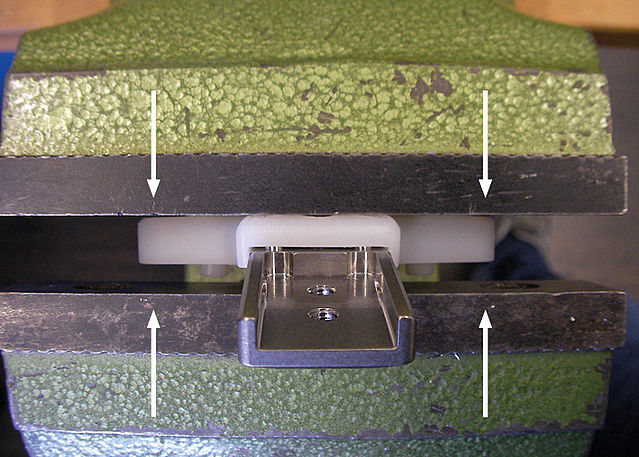
Step 6/7
Step 7/7


Last Update: 4 October 2022